Building an OpenGL project from scratch involves several steps, including setting up the development environment, writing code, and compiling the project. Here's a basic guide to get you started:
1. Set Up Your Development Environment
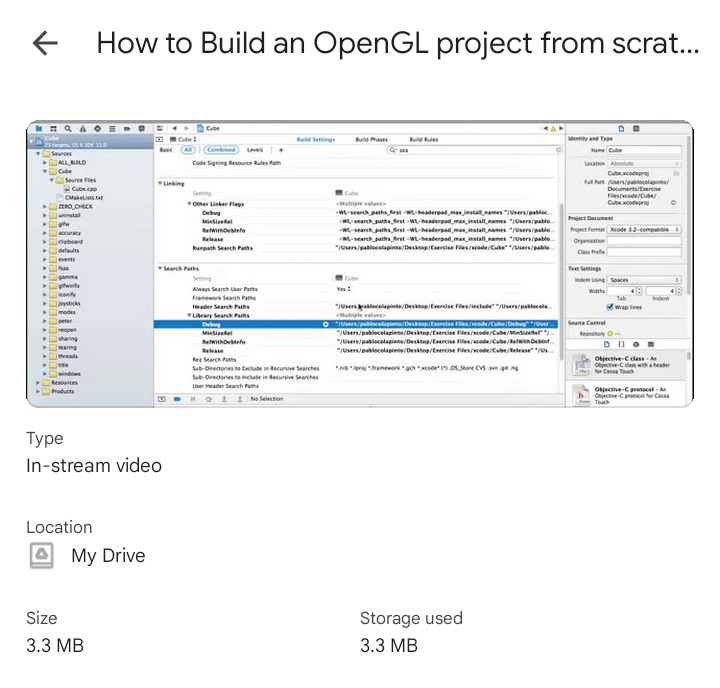
a. Install a C++ Compiler:
- Windows: You can use MinGW or Microsoft Visual Studio.
- macOS: Xcode comes with a compiler.
- Linux: GCC is commonly used.
b. Install a Build System:
- CMake: A cross-platform build system that works with most compilers.
c. Install OpenGL Libraries:
- GLFW or GLUT for window management and input.
- GLEW or GLAD for managing OpenGL extensions.
2. Download and Install Dependencies
a. GLFW:
- Go to the GLFW website, download the appropriate binaries or source, and follow the installation instructions.
b. GLEW or GLAD:
- GLEW: Download from the GLEW website.
- GLAD: Use the GLAD web service to generate a loader for your OpenGL version.
3. Create a Basic Project Structure
a. Directory Structure:
project_root/src/(source files)include/(header files)libs/(libraries)CMakeLists.txt(if using CMake)
b. Create Main Source File:
src/main.cpp
cpp#include <GL/glew.h>
#include <GLFW/glfw3.h>
#include <iostream>
void framebuffer_size_callback(GLFWwindow* window, int width, int height) {
glViewport(0, 0, width, height);
}
int main() {
// Initialize GLFW
if (!glfwInit()) {
std::cerr << "Failed to initialize GLFW" << std::endl;
return -1;
}
// Create a windowed mode window and its OpenGL context
GLFWwindow* window = glfwCreateWindow(640, 480, "Hello World", nullptr, nullptr);
if (!window) {
std::cerr << "Failed to create GLFW window" << std::endl;
glfwTerminate();
return -1;
}
// Make the window's context current
glfwMakeContextCurrent(window);
glfwSetFramebufferSizeCallback(window, framebuffer_size_callback);
// Initialize GLEW
if (glewInit() != GLEW_OK) {
std::cerr << "Failed to initialize GLEW" << std::endl;
return -1;
}
// Main loop
while (!glfwWindowShouldClose(window)) {
// Render
glClear(GL_COLOR_BUFFER_BIT);
// Swap buffers
glfwSwapBuffers(window);
// Poll for and process events
glfwPollEvents();
}
glfwTerminate();
return 0;
}
4. Configure the Build System
a. Using CMake:
- Create a
CMakeLists.txtfile in the project root:
cmakecmake_minimum_required(VERSION 3.10) project(OpenGLProject) set(CMAKE_CXX_STANDARD 11) # Find GLFW find_package(GLFW3 REQUIRED) # Find GLEW find_package(GLEW REQUIRED) # Include directories include_directories(${GLFW_INCLUDE_DIRS} ${GLEW_INCLUDE_DIRS}) # Add executable add_executable(OpenGLProject src/main.cpp) # Link libraries target_link_libraries(OpenGLProject ${GLFW_LIBRARIES} ${GLEW_LIBRARIES} ${OPENGL_gl_LIBRARY})
b. Build the Project:
- Open a terminal and navigate to your project root.
- Run:
shmkdir build
cd build
cmake ..
make
5. Run the Application
After building, you should find an executable in the build directory. Run it to see your OpenGL window.
This setup provides a minimal OpenGL application. From here, you can start adding shaders, textures, and other OpenGL features.

Enjoy! Follow us for more...

No comments:
Post a Comment