Download How to Connect to an FTP server with a web browser.mp4
Below is a fully SEO-optimized blog article ready to publish.
It uses clear headings, keyword placement, internal-link friendly structure, and beginner-friendly technical explanations.
How to Connect to an FTP Server with a Web Browser (Step-by-Step Guide)
Connecting to an FTP server using a web browser is one of the easiest ways to access server files without installing extra software. Whether you’re a beginner, blogger, or web developer, this guide explains the process in simple technical terms that anyone can understand.
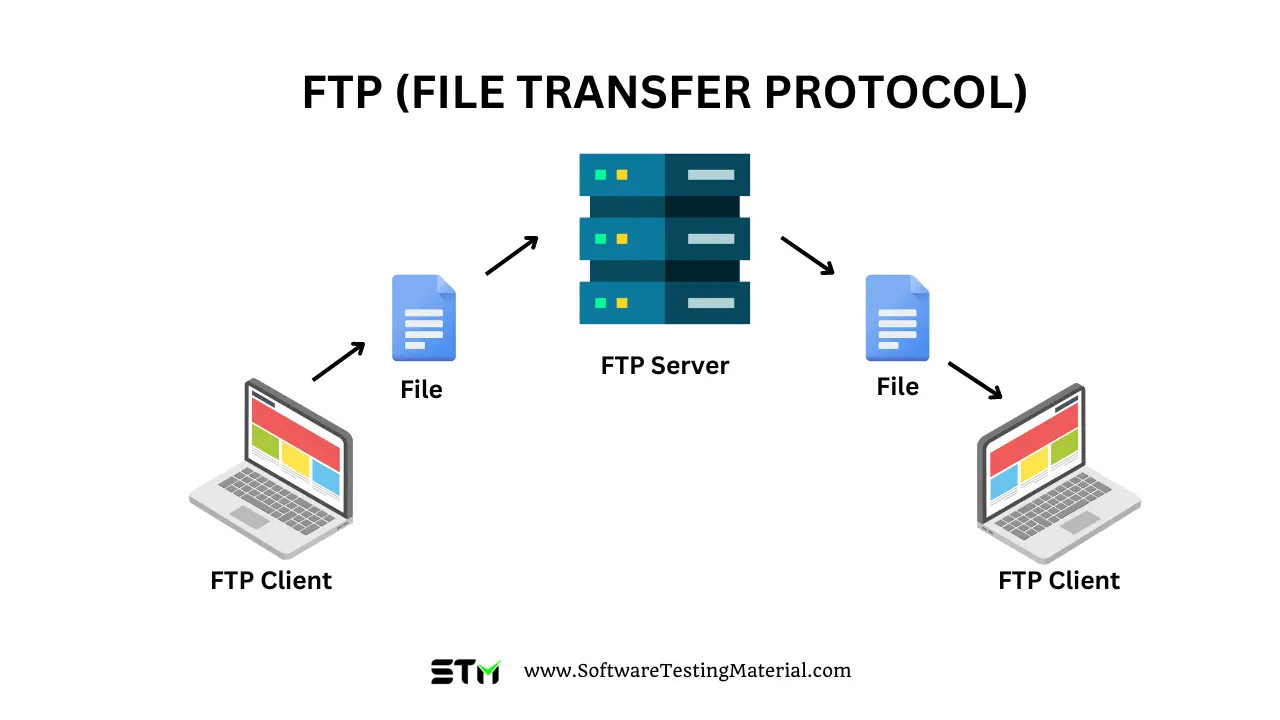
What Is an FTP Server?
FTP (File Transfer Protocol) is a standard method used to transfer files between a local computer and a remote server over the internet. FTP servers store website files such as:
HTML
CSS
Images
Videos
Configuration files
FTP is widely used in web hosting, website management, and server maintenance.
Can You Connect to an FTP Server Using a Web Browser?
Yes, you can connect to an FTP server using most modern web browsers. In this case, the browser works as a basic FTP client, allowing you to:
However, browsers offer limited FTP functionality compared to dedicated FTP software.
Requirements to Access an FTP Server
Before connecting, make sure you have the following details:
These credentials are usually provided by your web hosting provider.
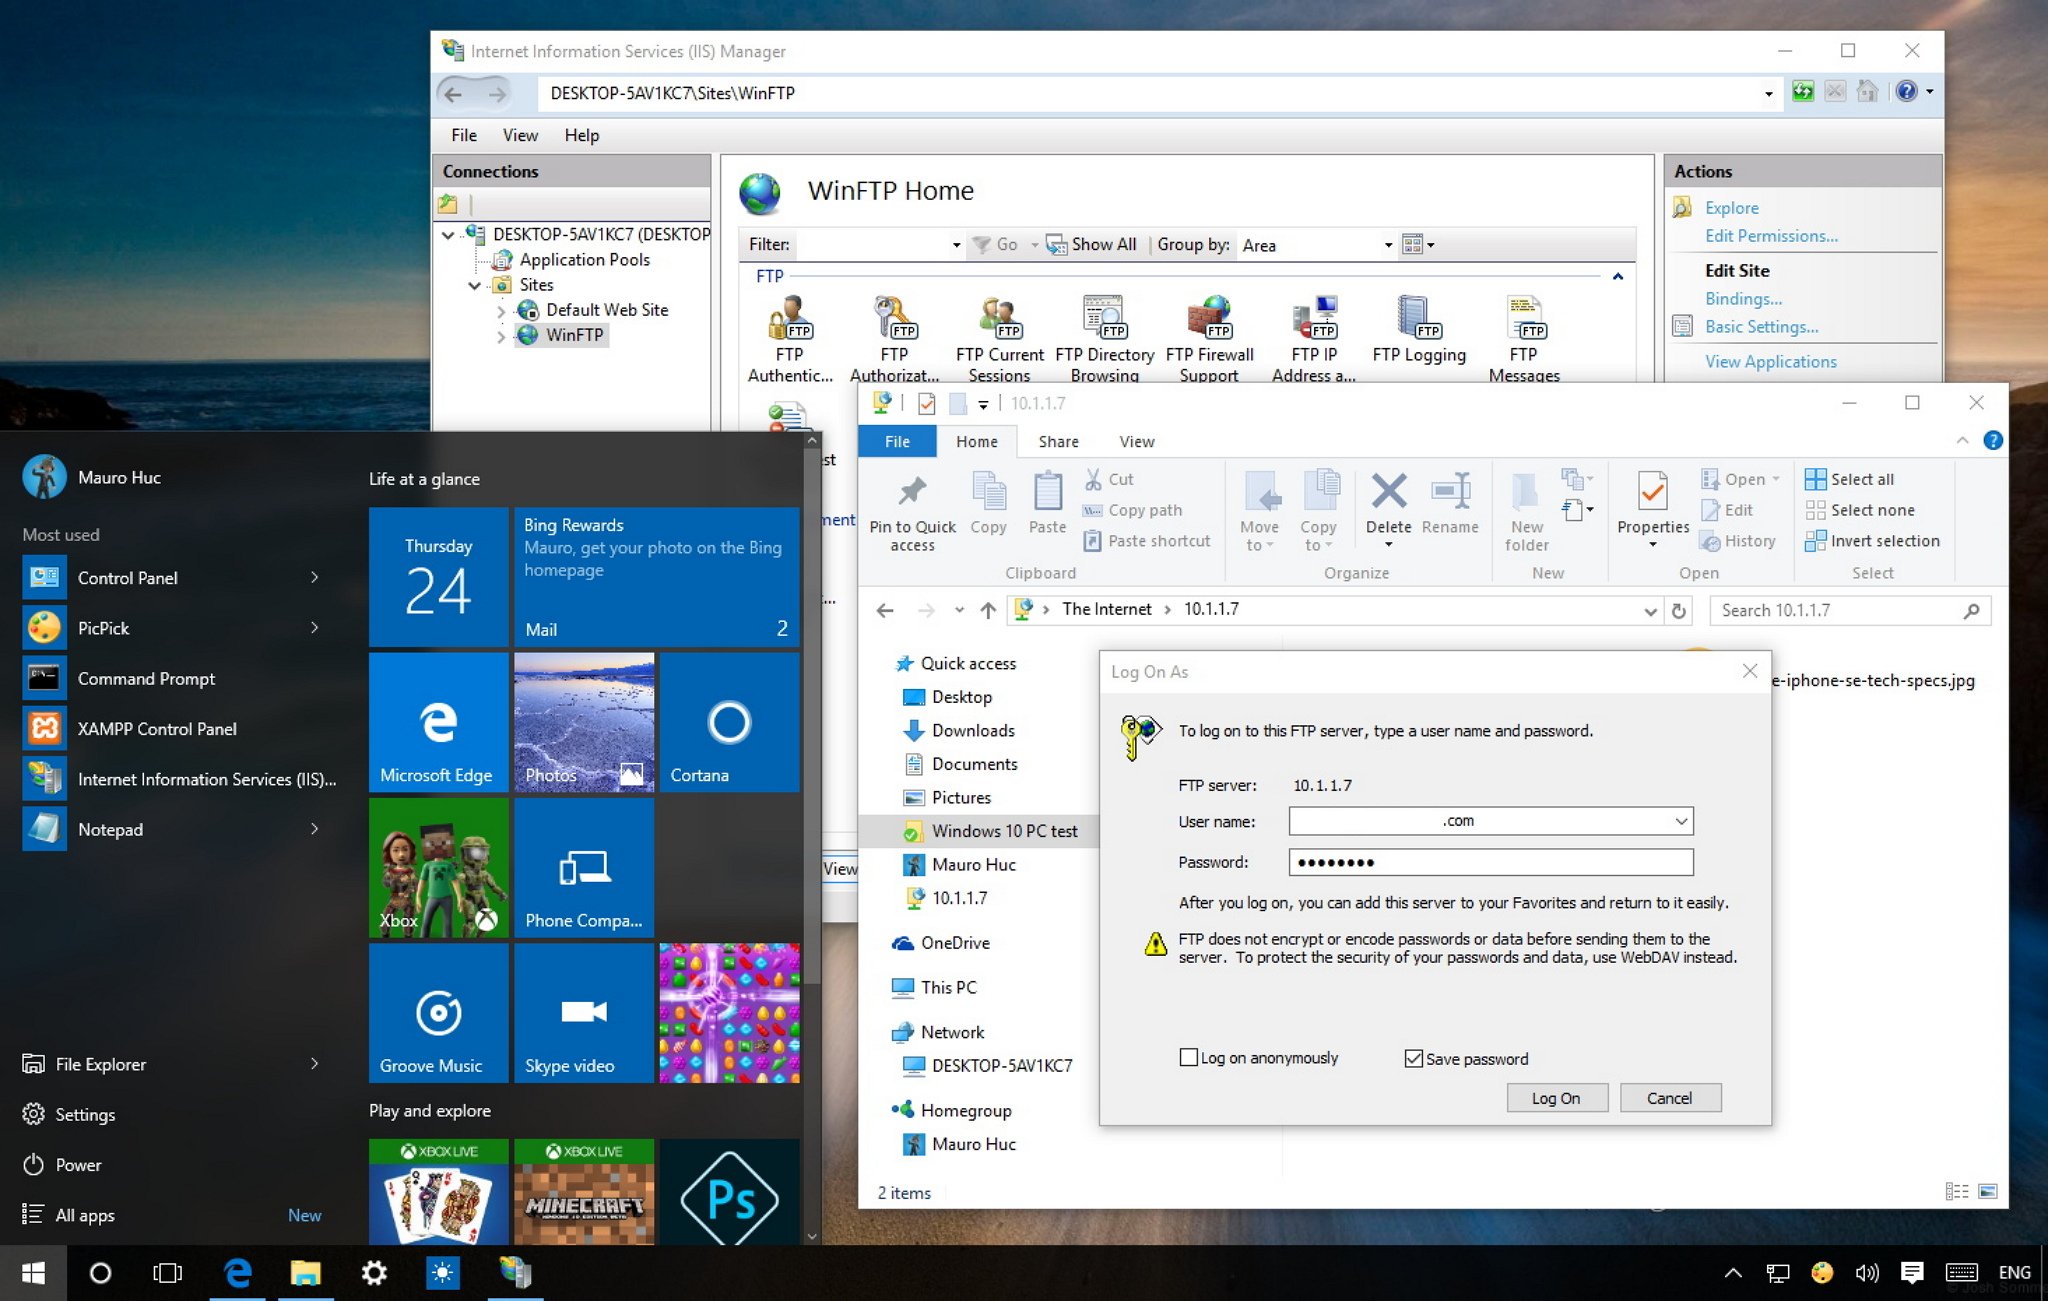
How to Connect to an FTP Server Using a Web Browser
Step 1: Open Your Web Browser
You can use browsers like Chrome, Firefox, Edge, or Safari (note that FTP support varies by browser version).
Step 2: Enter the FTP Address
Type the following format into the address bar:
ftp://username:password@ftp.yourdomain.com
Example:
ftp://admin:password123@ftp.example.com
If you don’t include login credentials, the browser will prompt you to enter them manually.
Step 3: Access the FTP Directory
Once authenticated:
The FTP server responds to the request
A directory listing is displayed
You can browse folders and download files
Your browser is now acting as an FTP client.
How FTP Works Behind the Scenes
Technically, here’s what happens:
The browser sends an FTP connection request
The server verifies your credentials
A session is established on port 21
Files and directories are transferred using FTP commands
All data transfer happens in plain text, which affects security.
What You Can Do Using a Browser-Based FTP Connection
✔ View directories
✔ Download files
✔ Open text-based files
❌ Limited or no file uploads
❌ No file permission management
❌ No resume support for large transfers
Limitations of Using a Web Browser for FTP
| Limitation | Description |
|---|
| No encryption | FTP sends data in plain text |
| Reduced browser support | Many browsers are phasing out FTP |
| Limited file control | No chmod, sync, or batch uploads |
| Security risks | Credentials can be intercepted |
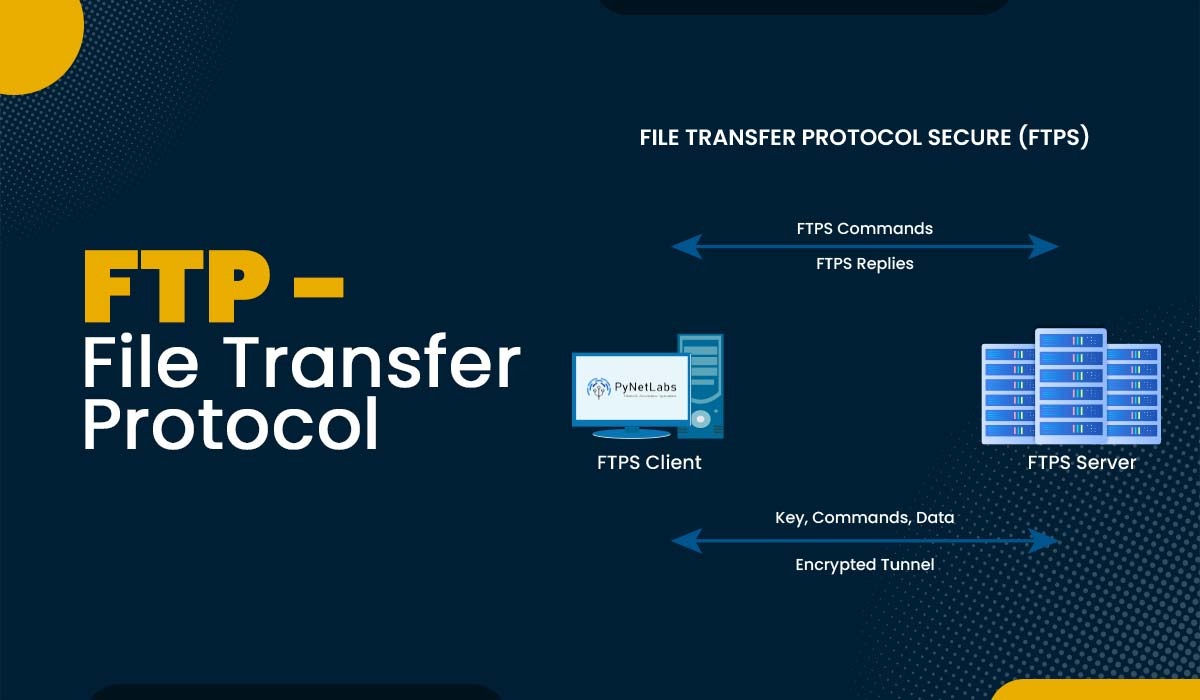
FTP vs FTPS vs SFTP (Important for SEO & Security)
FTP – No encryption (not secure)
FTPS – FTP with SSL/TLS encryption
SFTP – Secure File Transfer Protocol via SSH (recommended)
⚠️ Web browsers do not support SFTP, which requires dedicated software.
When Should You Use a Browser for FTP?
Using a browser is ideal for:
Quick file downloads
Temporary server access
Learning FTP basics
Not recommended for:
Best FTP Client Alternatives (Recommended)
For professional and secure access, use:
These tools support secure protocols, encryption, and advanced file management.
Conclusion
Connecting to an FTP server using a web browser is:
Simple
Fast
No installation required
But due to security and functionality limitations, it’s best used only for basic access. For regular or sensitive tasks, always use a dedicated FTP client.
Frequently Asked Questions (FAQ)
Is FTP safe to use in a browser?
No. Standard FTP is unencrypted and not safe for sensitive data.
Why do some browsers no longer support FTP?
Due to security concerns and declining usage, many browsers are removing FTP support.
What is the best alternative to browser-based FTP?
Using SFTP with FileZilla or WinSCP is the safest and most reliable option.
Enjoy! Follow us for more...